

Custom Wood Range Hood Installation: Key Steps & Considerations
Installing a custom wood range hood enhances kitchen aesthetics and ventilation. This guide covers key steps for optimal performance.
Essential Preparations for Custom Wood Range Hood Installation
Thorough preparation prevents issues. Accurate measurements, a clear ventilation plan, and local code checks are crucial for fit, performance, and safety. Key preparations include accurate measurements (cooktop width, hood depth, height), verifying local codes, locating studs for secure mounting, and planning your ventilation system (ducted or ductless).
| Ventilation Type | Typical CFM Range | Installation Complexity | Best Use Case |
|---|---|---|---|
| Ducted (Exterior) | 300–1200+ | Moderate to High | Heavy cooking, restaurant-style performance |
| Ductless (Recirculating) | 200–600 | Low to Moderate | Apartments, historic homes, or restricted venting |
Tools and Materials for Custom Wood Range Hood Installation
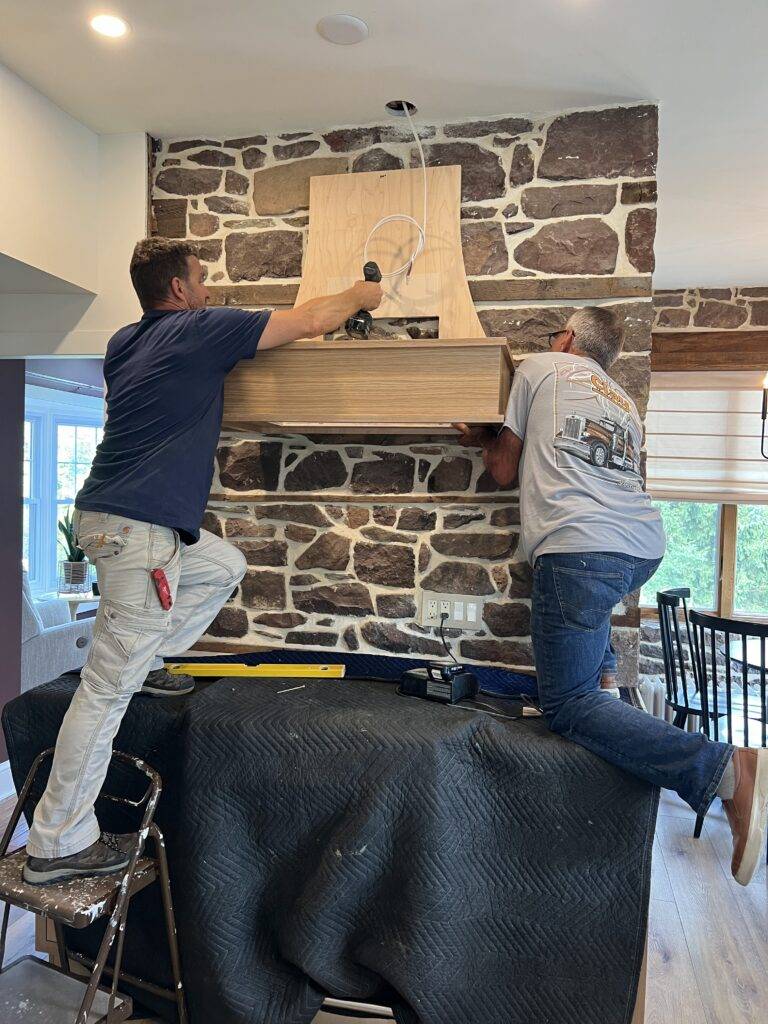
Gather appropriate tools (measuring, saws, fastening) and materials (durable hardwoods, plywood for backing, corrosion-resistant fasteners such as decking screws) that withstand heat and moisture.
| Wood Species | Durability | Finishing & Cost |
|---|---|---|
| Oak | High | Accepts stain evenly; moderate to high cost |
| Maple | High | Smooth grain, paints or clear coats well; moderate cost |
| Cherry | Moderate | Develops a rich patina; premium cost |
| Plywood (backing) | High (engineered) | Stable, economical—recommended for mounting |
Building and Mounting the Custom Wood Range Hood Frame
Assemble the hood shell, and securely mount the inner assembly to wall studs. Use a mockup to confirm fit and make sure to attach to the studs.
- Construct the outer shell and install internal backing for insert support.
- Securely mount the frame to wall studs.
Installing the Range Hood Insert and Completing Ventilation
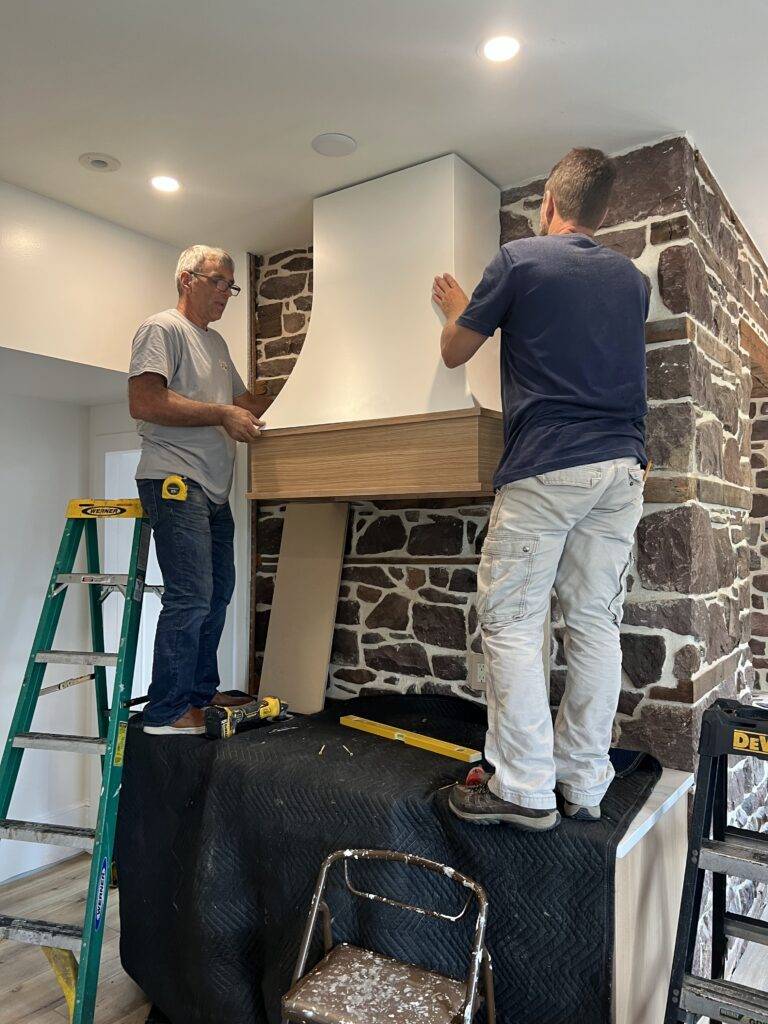
Securely mount the insert, complete electrical connections, and seal ducts for optimal airflow. Verify electrical requirements, route power, and use high-temperature sealant.
- Verify insert dimensions and electrical specifications.
- Position and secure the insert to the plywood backing.
- Connect power safely (licensed electrician for permanent wiring).
- Route and seal ducts, matching diameter to the insert outlet.
| Insert Type | Electrical | Noise (sones) |
|---|---|---|
| Standard insert | 120V / 60Hz typical | 2–6 sones (varies by CFM) |
| High-power insert | May require dedicated circuit | 4–8 sones at high speed |
| Convertible insert | 120V with ducting kit options | 2–7 sones depending on setup |
Frequently Asked Questions
Common mistakes to avoid?
Inaccurate measurements, skipping local code checks, and poor ventilation planning.
How to ensure energy efficiency?
Match insert CFM, choose ducted ventilation, keep ducts short/sealed, insulate runs, and perform regular maintenance.
What maintenance is required?
Keep the hood clean, inspect/clean ducts periodically, clean/replace filters, and refresh wood finishes.
DIY or professional installation?
DIY for straightforward builds; hire professionals for complex projects or code compliance.
Factors for choosing wood type?
Consider durability, stability around heat/moisture, and desired aesthetic (oak and maple are reliable).
How to troubleshoot issues after installation?
Check for duct obstructions/leaks, confirm fan speeds, and clean/replace filters. For electrical issues, call an electrician.
A custom wood range hood adds lasting style and improved ventilation when planned and installed correctly. Follow these key steps for a professional result.